In den Beispielprogrammen des vierten Kapitels werden lineare und nicht lineare Regelstrecken simuliert, Kennwerte ermittelt und Frequenzgänge berechnet.
web401
P-Tn – Strecke
Listing 4.1: Reihenschaltung von drei P-T1-Gliedern, Simulation der Sprungantwort der Teilstrecken und Gesamtstrecke sowie Plot der Ortskurve.
# -*- coding: utf-8 -*-
"""

P-Tn  Reihenschaltung 3 P-T1
Created on 15.4. 2019
@author: philippsen
"""

import numpy as np
import control
from   control.matlab import *
import matplotlib.pyplot as plt

Kp= 3.0    #    Verstärkung
T1 = 2.0   #    Zeitkonstanten
T2 = 3.0
T3 = 5.0

N1  = np.array([T1, 1])
N2  = np.array([T2, 1])
N3  = np.array([T3, 1])

G1 = tf(Kp,N1)
G2 = tf(1.0,N2)
G3 = tf(1.0,N3)
Gges = G1*G2*G3
x3, t = control.matlab.step(Gges)
x2, t = control.matlab.step(G1*G2,t)
x1, t = control.matlab.step(G1,t)
plt.plot(t, x1, t, x2,t, x3, "b")
plt.ylabel('x1, x2, x3', color="blue", fontsize=14)
plt.xlabel('t [s]', fontsize=12)
plt.title('Reihenschaltung drei P-T1', fontsize=12)
plt.grid()
plt.figure()
real, imag, ww = control.matlab.nyquist(Gges,Plot=False)
plt.plot(real,imag)
plt.title('Ortskurve P-T3')
plt.xlabel('Real'); plt.ylabel('Imag')
plt.grid()
web402
P-T2s – Strecke
Listing 4.2: Eine P-T2s Strecke wird simuliert, wobei die Dämpfung variert wird. Darüber hinaus erfolgt die Berechnung des Plots des Pol-Nullstellen-Plans.
# -*- coding: utf-8 -*-
"""
P-T2s Modifikation Dämpfung Batchbetrieb
Created on 2.4. 2019
@author: philippsen
"""

import numpy as np
import control
from control.matlab import *
import matplotlib.pyplot as plt

for ii in range(0, 11): # Liste von 0 bis kk-1
    d = 1.2 - 0.1*ii
    den  = np.array([1,2*d, 1])
    print("d = %3.2f, Pole = %s " %(d,str(np.roots(den))) )
    pt2 = tf(1,den)
    y, t = control.matlab.step(pt2)
    plt.plot(t,y)

plt.title('P-T2s Batch')
plt.xlabel('t [s]'); plt.ylabel('h(t)')
plt.grid()

plt.figure()
pzmap(pt2)
plt.grid()
#mag, phase, w = control.matlab.bode(pt2)
web403
Totzeit mit P-T1 mit Pade – Approximation
Listing 4.3: Die Simulation und Berechnung des Frequenzgangs einer Strecke mit Totzeit kann mit Hilfe der Pade-Approximation angenähert werden.
# -*- coding: utf-8 -*-
"""
Totzeit mit P-T1 Pade-Approximation
Created on 10.4. 2019, mod 15.4.24
Neues Plot-Paradigma ab Version 0.10.0 für bode und nyquist
@author: philippsen
"""

import control
import control.matlab
import numpy as np
from matplotlib.pyplot import *
import matplotlib.pyplot as plt

T = 1       # Zeitkonstante P-T1
TT = 0.5    # Totzeit

n = 500 # Anzahl Schritte
T0 = 0.01 # Abtastzeit
u = np.zeros(n)     # Vektor Eingangsgröße
tk= np.arange(0,T0*n,T0)    # Zeit- bzw. k-Achse

ab = round(TT/T0)
for i in range(ab, n):  # Verschiebung um Totzeit
     u[i] = 1.0

G1 = control.tf([ 1],[T, 1]) # P-T1
yout, tk, xout = control.matlab.lsim(G1, u, tk, X0=0)

num, den = control.matlab.pade(0.5,3)   # Pade Appr. 3.Ordnung
Gpade = control.matlab.tf(num,den)
x, tk = control.matlab.step(G1*Gpade, tk)#, X0=0)
plt.plot(tk,yout, tk, x)
plt.title('Totzeit-P-T1 und Pade-Approx.')
plt.xlabel('t [s]'); plt.ylabel('x')
plt.grid(True)
plt.figure()
w, mag, phase = control.matlab.bode(G1*Gpade)
web404
Integrale Strecke mit Verzögerung (I-T1)
Listing 4.4: Eine I-T1-Strecke wird simuliert, das Bode-Diagramm berechnet und die Orstkurve mit Markierung der Frequenz geplottet.
# -*- coding: utf-8 -*-
"""

P-T1 in Reihenschaltung mit I-Glied
Created on 15.4. 2019 and 7.4.2024
Neues Plot-Paradigma ab Version 0.10 für bode und nyquist
@author: philippsen
"""

import numpy as np
import control
from   control.matlab import *
import matplotlib.pyplot as plt

Kp= 2.0    #    Verstärkung
T1 = 0.2   #    Zeitkonstante

N1  = np.array([T1, 1])

G1 = tf(Kp,N1)  # P-T1
Gi = tf(1.0,[1.0, 0])  # Integrator
G4 = G1*Gi          # I-T1
time = np.arange(0.0, 1.0, 0.001)
x4, tt = control.matlab.step(G4,time)
plt.figure()
plt.plot(tt, x4, "r")
plt.ylabel('x4', color="red", fontsize=14)
plt.xlabel('t [s]', fontsize=12)
plt.title('I-T1 Sprungantwort', fontsize=12)
plt.grid()

plt.figure()
#bode(G4)    # Matlab - Bode
control.bode_plot(G4)

plt.figure()
real, imag, ww = control.matlab.nyquist(G4,plot=False)
plt.plot(real,imag)
plt.title('Ortskurve I-T1 Matlab Nyquist')
plt.xlabel('Real'); plt.ylabel('Imag')
plt.grid()

plt.figure() # Ortskurve mit neuer Funktion
response = control.nyquist_response(G4)
response.plot()
plt.title('Control Nyquist_response')

plt.figure() # Nur pos. Frequenzen
response = control.nyquist_response(G4,omega_limits=[0.1 ,100])
plt.plot(response.response.real,response.response.imag)
plt.title('Ortskurve I-T1 response limit, pos. Frequenzen')
plt.xlabel('Real'); plt.ylabel('Imag')
plt.grid()

# Eine andere Lösung mit dem SciPy - Paket
from scipy import signal
num = G4.num[0][0][:]   # Zugriff auf Zähler
den = G4.den[0][0][:]   # Zugriff auf Nenner
gg=signal.TransferFunction(num,den)
w, H = signal.freqresp(gg)
plt.figure()
plt.plot(H.real, H.imag, "b")
plt.title('Ortskurve I-T1 scipy')
#plt.plot(H.real, -H.imag, "r")
plt.grid()
web405
Lead-Lag Bode-Diagramm
Listing 4.5: Mit wenigen Programmierzeilen kann das Bode-Diagramm eines Lag-Glieds geplottet werden. Verändern Sie a auf 10, dann erfolgt die Berechnung eines Leads.
# -*- coding: utf-8 -*-
"""
Lead Lag
Created on 10.4. 2019, mod. 15.4.24
Neues Plot-Paradigma ab Version 0.10.0 für bode und nyquist
@author: philippsen
"""

import control
import numpy as np
import matplotlib.pyplot as plt

T = 1
a = 0.10

GLL = control.tf([a*T, 1],[T, 1]) # Lead Lag
#w, mag, phase = control.bode(GLL)
out=control.bode_plot(GLL)
w, mag, phase = control.frequency_response(GLL)
web406
Fahrzeug Querdynamik/Lenkmodell
Listing 4.6: Das nicht lineare Modell der Fahrzeuglenkung wird mit dem SciPy DGL-Löser berechnet, wobei die Fahrt in der Ebene geplottet wird.
# -*- coding: utf-8 -*-
"""
Fahrzeug Querdynamik Lenkmodell
Created on 27.1. 2020
@author: philippsen
nach 10 Sek wird Lenkwinkel auf null gestellt
"""

from scipy.integrate import odeint
import numpy as np
import matplotlib.pyplot as plt

def deriv(xa, t, alpha):
    beta=xa[0]
    #x = xa[1]; z = xa[2]
    v = 0.79
    Rs = 0.5
    bp = np.sin(alpha)*v/Rs
    xp = v*np.sin(alpha + beta)
    zp = v*np.cos(alpha + beta)
    xapunkt = [bp, xp, zp]
    return xapunkt

time = np.arange(0.0, 10.0, 0.01)
xaAnfang = [0,0,0]
u = 0.2

xa = odeint(deriv, xaAnfang, time, args=(u,))
xb = odeint(deriv, xa[999,:], time, args=(0,))
plt.figure()
plt.plot(xa[:,2],xa[:,1]  ) #
plt.plot(xb[:,2],xb[:,1]  )
plt.axis('scaled')
plt.ylabel('x', fontsize=14)
plt.xlabel('z', fontsize=14)
plt.title('Lösung Lenkung-DGL mit Python')
plt.grid()
web407
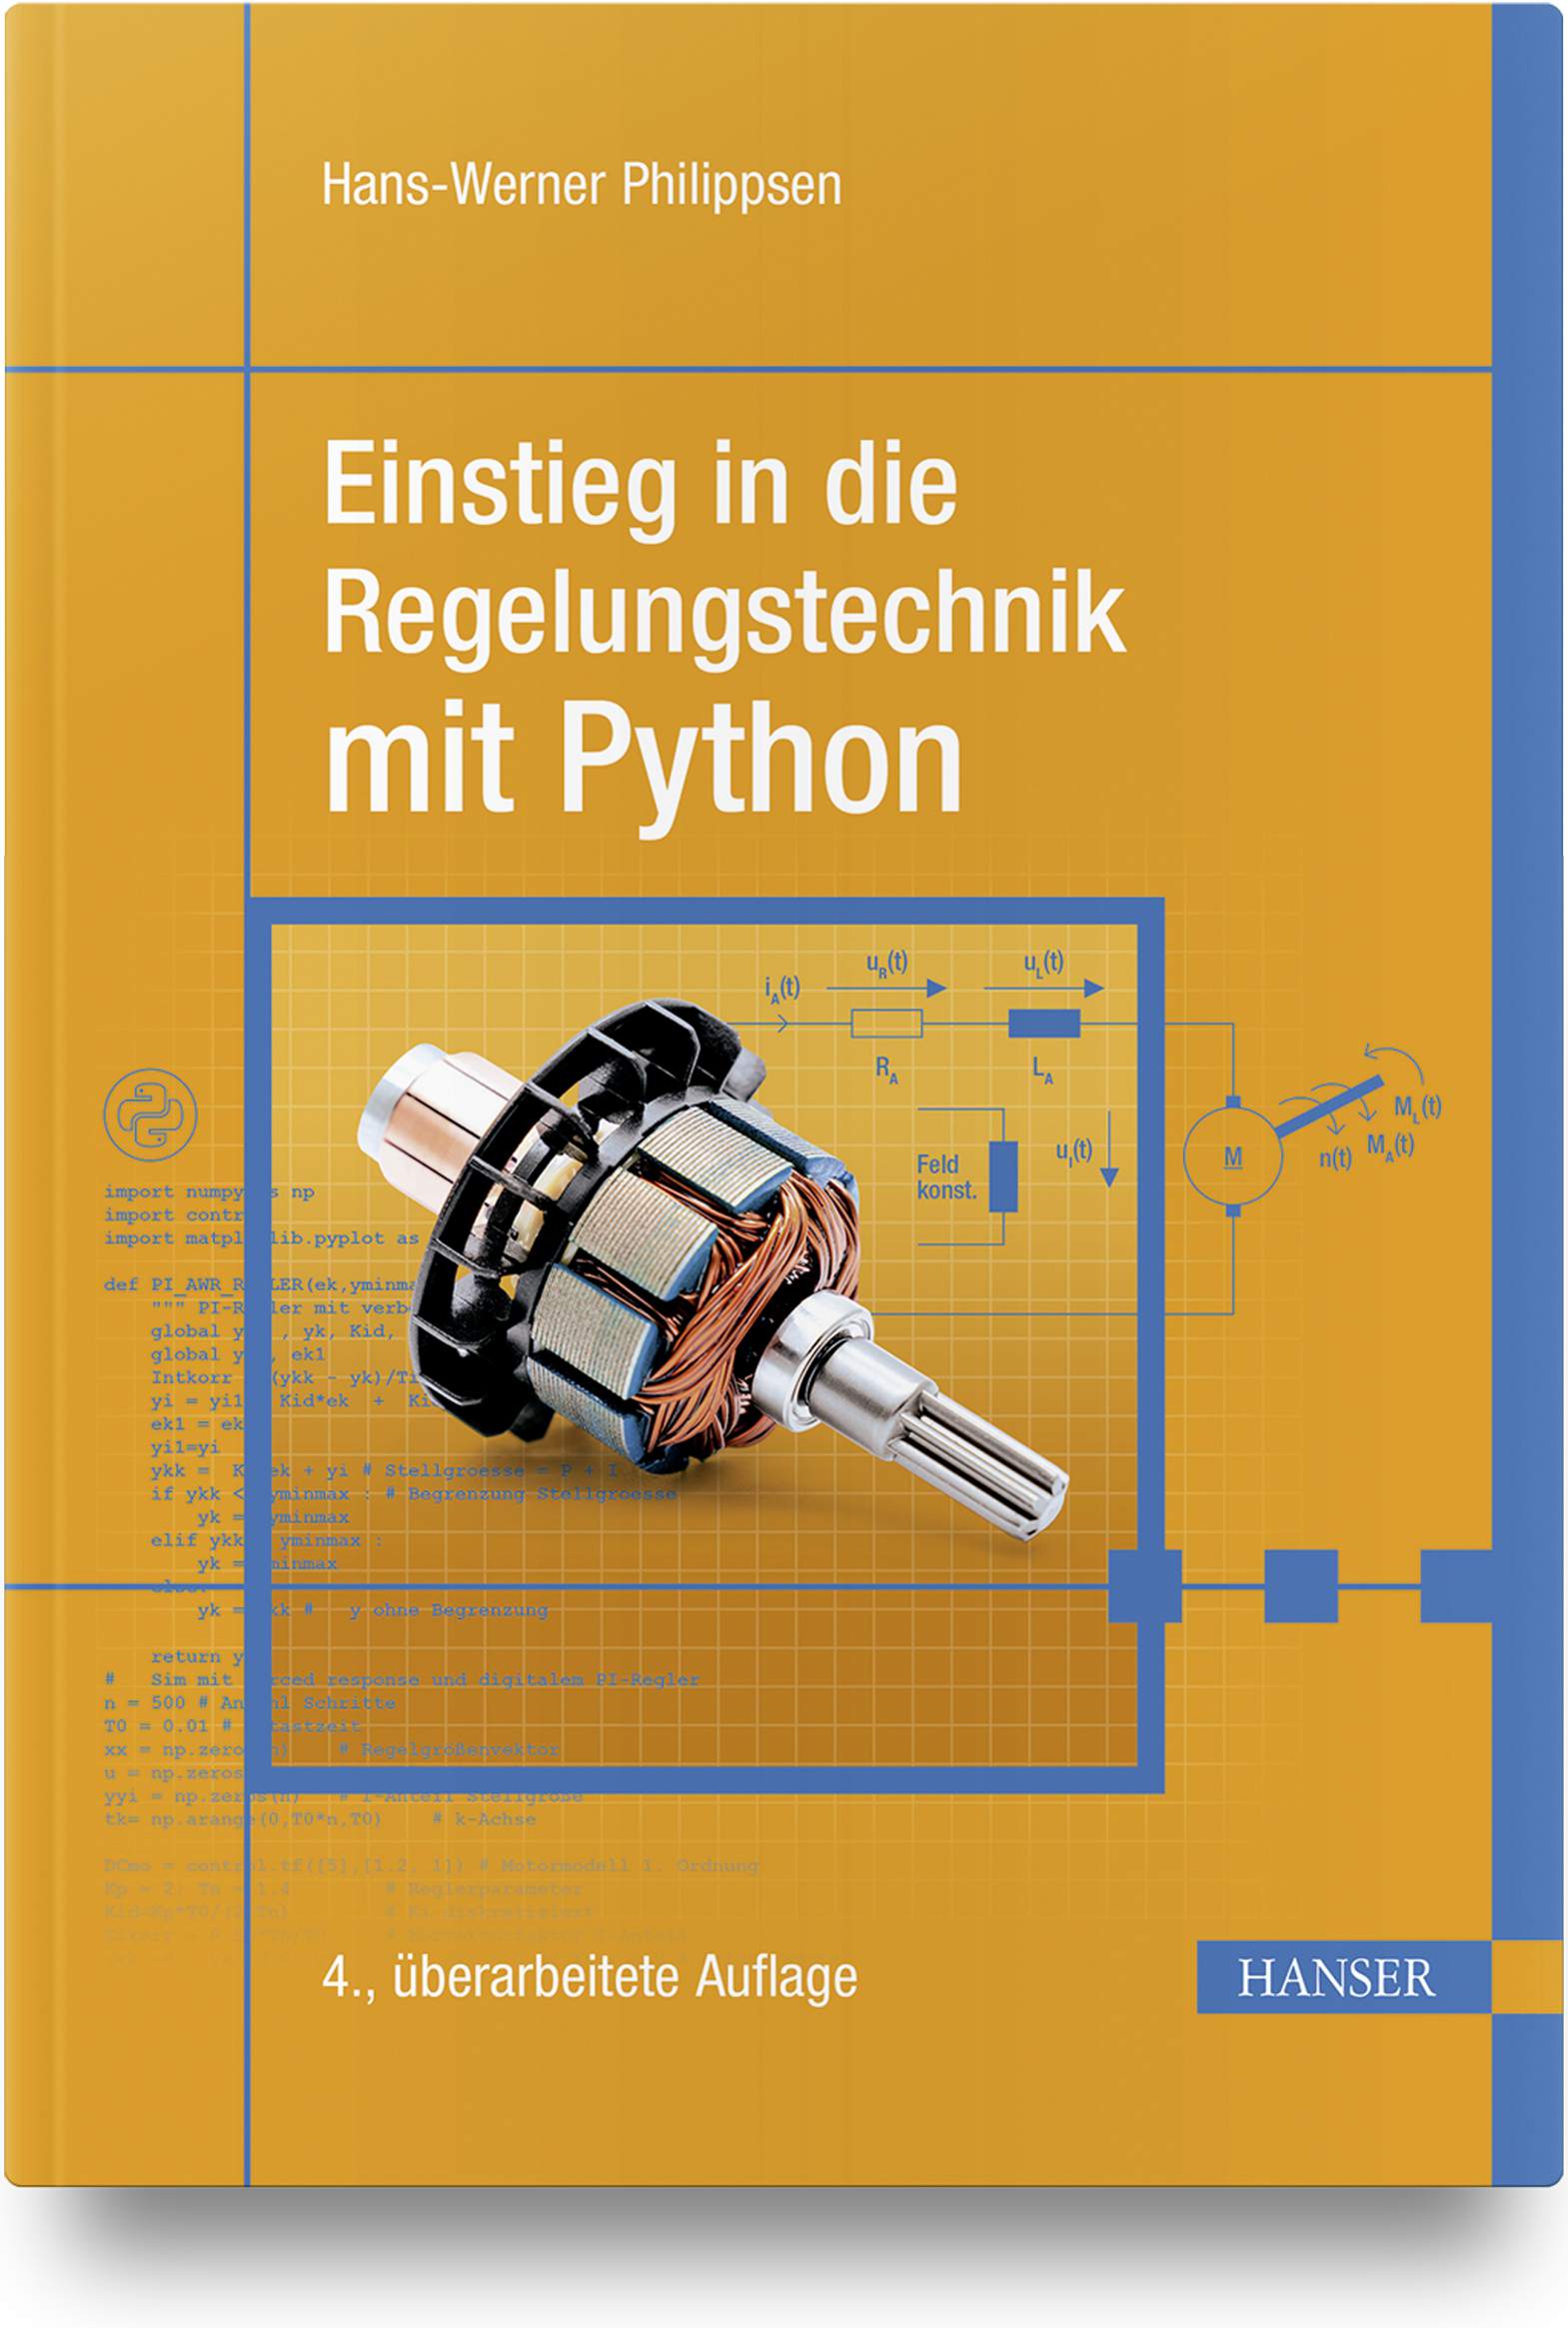
DC-Motor
Listing 4.7: Berechnet werden Strom und Drehzahl im Fall einer sprungförmigen Anpassung der Ankerspannung für den Faulhaber-Motor 2237.
# -*- coding: utf-8 -*-
"""

DC-Motor  G(s)  Faulhaber Motor 2237
Created on 2.4. 2019
@author: philippsen
"""

import numpy as np; from math import pi
import control
from   control.matlab import *
import matplotlib.pyplot as plt

cPsi= 0.0318    #   Datenblatt Faulhaber 2237
R = 15.7        # Widerstand Anker
L = 590e-6        # Induktivität Anker
zpiJ = 47.119e-6 #	Schwungmasse Berechnung 2pi7,5e-6
#zpiJ = 2*pi*75e-7
Kr = 35.82e-6

zN  = np.array([cPsi/R ])
nN  = np.array([ zpiJ, Kr+(2*pi*cPsi**2)/R])
zI  = np.array([zpiJ/R , Kr/R])

DCmot = tf(zN,nN)
n, t = control.matlab.step(DCmot)
DCmotI = tf(zI,nN)
ii, tt = control.matlab.step(DCmotI)
fig, ax1 = plt.subplots()

ax1.plot(tt, n*60*5, "b")
ax1.set_ylabel('n [1/min]', color="blue", fontsize=14)
plt.grid()
ax2 = ax1.twinx()
ax2.plot(tt, ii*5*1000, "r")
ax2.set_ylabel('i [mA]', color="red", fontsize=14)
ax1.set_xlabel('t [s]', fontsize=12)
ax1.set_title('DC-Motor 2237', fontsize=12)